If you ask my mom today, she would probably agree that I was once a very picky eater. And not only I was picky, I was always the last one to finish at the dinner table. I was a fussy kid who didn't like much of anything. And now I blog about food? Who would have thought?! Since I only liked a handful of things at the dinner table growing up, steamed egg custard (蒸水蛋) and I bonded like how American kids fell in love with mac & cheese. A plate of hot steamed egg custard fresh out of the wok with soy sauce pour all over on top. It's a simple comfort home cooking I know many Cantonese and Hong Kongers can relate to. Taking a spoonful out of the soft egg custard immediately creates a dent where soy sauce would rush in and fill the hollow space.

Steamed egg custard is one those dishes that reminds me of home as soon as I put the silky and savory bite in my mouth. While there are a few different versions of steamed egg custard, this is how I like to enjoy mine - with crunchy Chinese sausage bits!
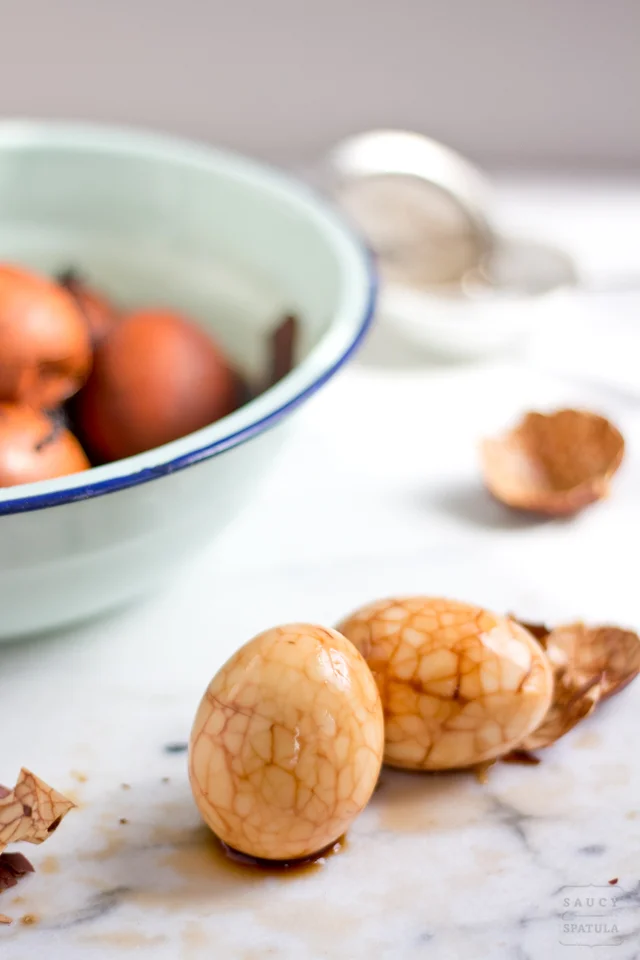
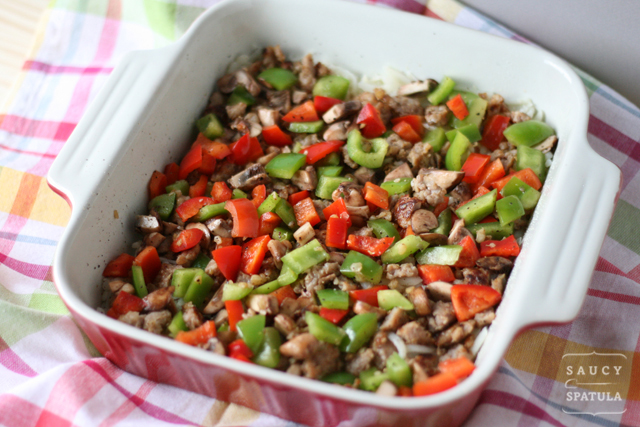
The dish is usually made plain with just eggs and water. It can also be made with with baby shrimp or ground pork, and even sliced preserved eggs (皮蛋) which never looks appetizing. However the custard is made, it's commonly served with a thin layer of soy sauce on top, and garnished with a sprinkle of chopped scallion.

Here's what I did with the Chinese sausage. I chopped it into small chunks then I threw them into a food processor for a few seconds.

You then toss them on a hot pan for a minute or so, and you'll get these crispy sausage bits. A lot like bacon bits that you put on a salad but 1,000 times better!

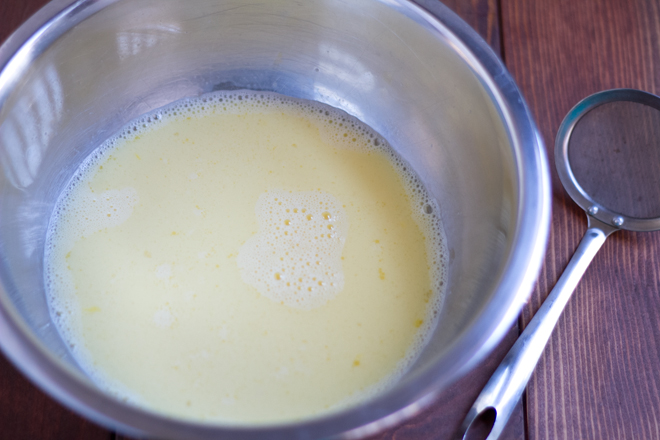
Next, the eggs. Like I mentioned earlier, steamed egg custard is usually made with just water which is good. What makes creamier and better custard is milk. And low-fat milk would do just fine. After beating the eggs and mixing in with other ingredients, you should either strain it or use a small sieve to remove any outstanding foam or bubbles so the surface of the custard remains smooth when steaming.

Set up your steaming wok or pan on low heat and set the timer for 18 minutes. And note that the higher the heat, the less smooth your custard will turn out. So if it is your first time making steamed egg custard, keep an extra eye on the money and observe the magic of steaming!

It's very common that you'll see little honeycomb-like texture in your steamed egg custard. And you'd see more of it if the heat was on too high while steaming. While some people like their steamed egg custard perfect with no honeycomb-like texture at all, to me, a little bit of it is the imperfection I look forward to when I make steamed egg custard. It's part of what makes it airy and a bit fluffy.
What's your steamed egg custard story? How does your family prepare this classic Cantonese dish at home? Share with us in the comments below!

Steamed Egg Custard (臘腸蒸水蛋)
Prep time: 10 mins Cook time: 20 mins Total time: 30 mins
You'll need:
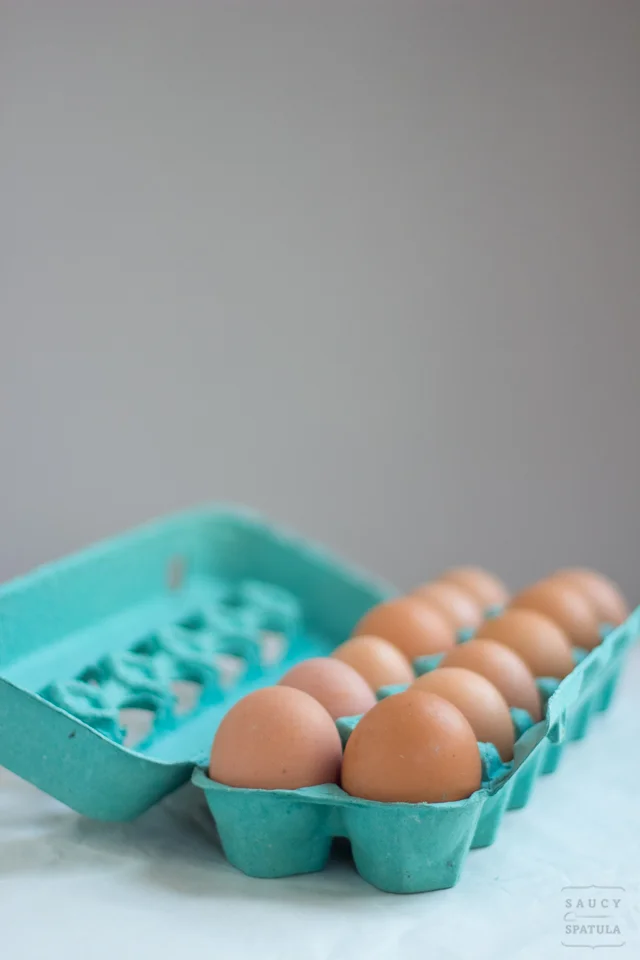
- 4 large eggs
- 1 cup low-fat milk
- ¼ salt
- 4 drops sesame oil
- 1 Chinese sausage
- 1 stalk scallion, chopped
- 1 tbsp soy sauce
Approach:
- Prepare a small skillet over medium heat.
- Cut Chinese sausage into small chucks, then throw them into a food processor and process for a few seconds, until finely chopped.
- Add 2 drops of sesame oil into the hot pan, then add chopped sausage. Cook for about 1 minute until it becomes slightly crispy. Then set aside.
- In a medium mixing bowl, whisk together 4 eggs, plus 1 cup of milk, salt and 2 drops of sesame oil, until well-combined.
- Using a small sieve, fish out any outstanding foam on top and on the side.
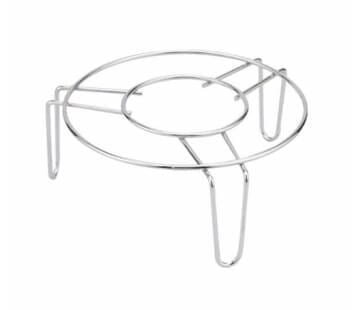
- Next, set up your wok with a steaming rack with 1" of standing water. Place an empty dish, that holds at least 2 cups of liquid, in the middle on top of the rack. Carefully pour eggs into the dish. Turn the heat on low, and set the timer for 18 minutes.
- When it is done, egg custard should be springy to the touch, and a bit jiggly.
- Let it rest for 1 minute, then top with 1 tbsp of soy sauce, crispy sausage bits, and chopped scallion.
- Serve hot.
Notes:
For your reference, this is what a steaming rack looks like.
Eggs to milk ratio should be 1:1.


