Here we go! I've been dying to make this post happen! Attempt after attempt, I've finally made a batch of Mah Lai Goh (馬拉糕) that I'm absolutely thrilled with (after gaining 5 pounds from eating all the failed cakes!) This dim sum classic is soft, light, spongy, and a tad sweet. I still can't believe it took me this long to try making it, and I'm just stoked that it turned out better than I anticipated.
Mah Lai Goh (馬拉糕) is also called Malay cake or Malaysian steamed cake. However, the cake wasn't originate in Malaysia. It's a Cantonese steamed cake that's often seen on the dim sum table. It's pretty much every kid's favorite at dim sum growing up because it's... cake. No child can turn down cake for breakfast on a Sunday morning when your whole family goes yum cha. So how did it get its name? I can't seem to find the absolute answer. Legend has it that Singaporeans with Malay descent are the ones who created Mah Lai Goh in the first place, then the cake was introduced to Canton (now known as Guangdong) and Hong Kong. This super moist cake get its tenderness from steaming instead of baking which uses dry heat. It's made with light brown sugar for its sweetness, and very little dairy as in only 4 tablespoons of butter. FOUR!


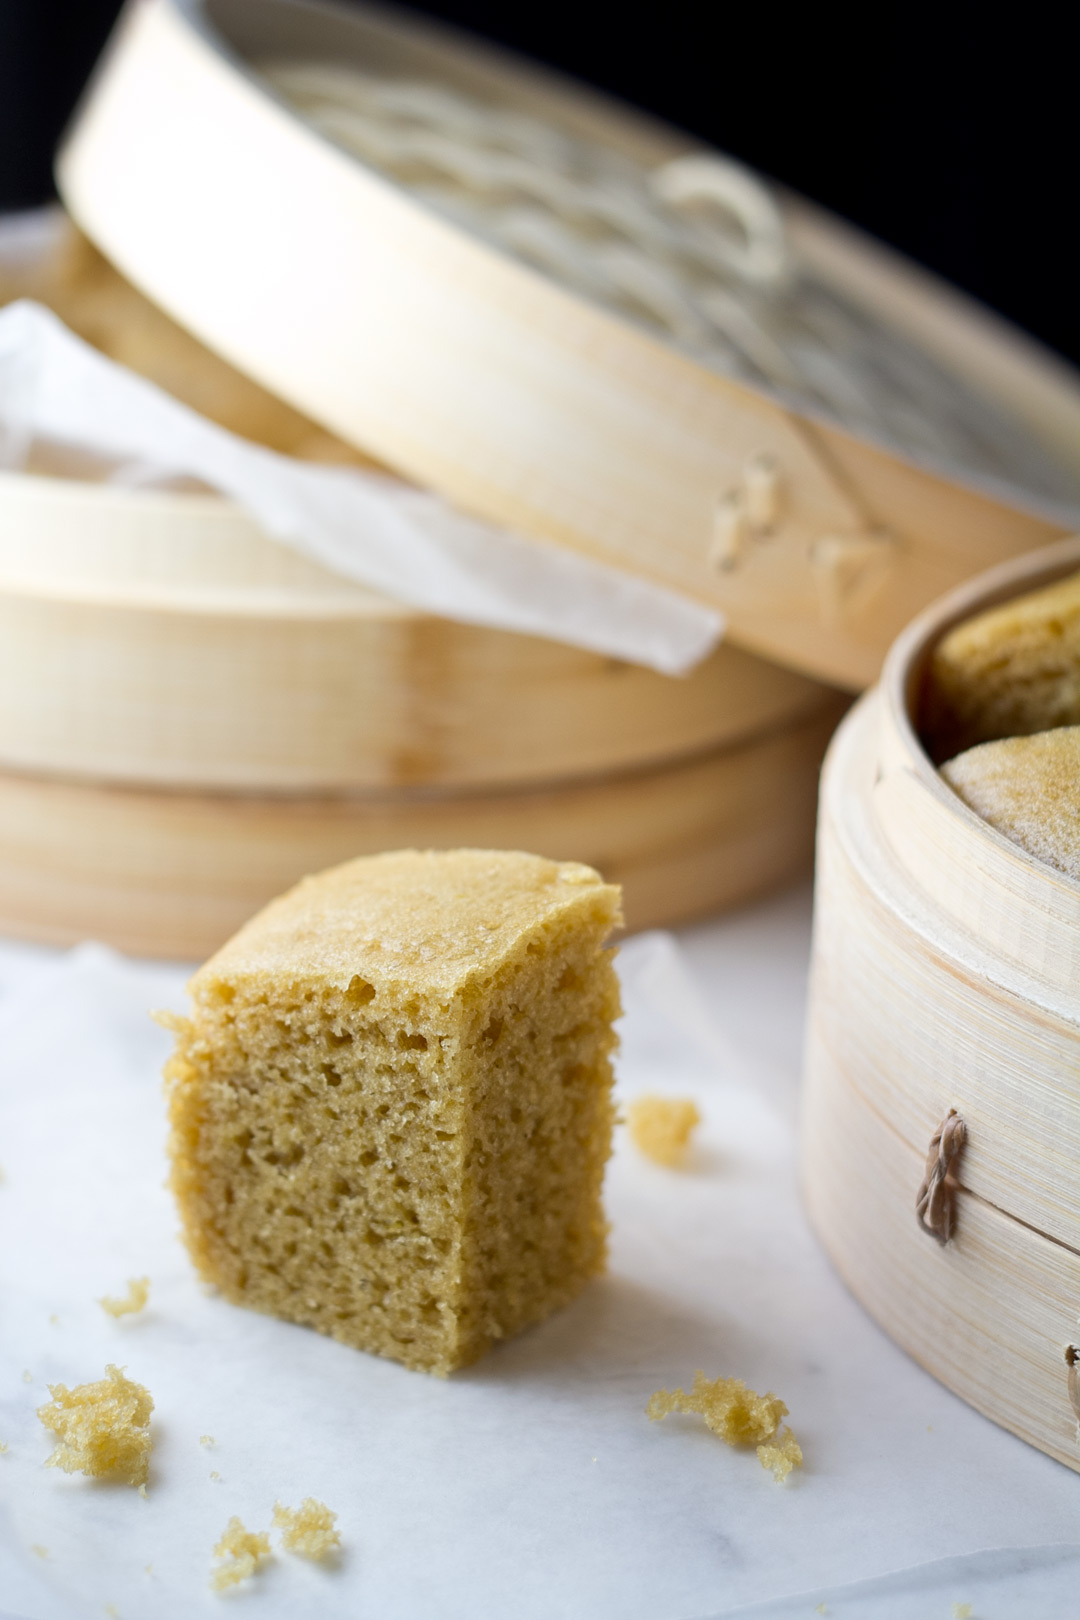

I swear pictures can't do this Mah Lai Goh justice of how amazingly tender this brown sugar cake is. When it's fresh out of the steamer, it smells incredible and the cake will just melt in your mouth. Part of what makes Mah Lai Goh so distinct from other cakes is the airiness and the texture (the little holes you see all over the cake).

Doesn't this look just like what you get at dim sum?!

Steaming
Now, let's go over steaming, and a little bit of "MacGyvering" when you don't have the proper equipment like a good size wok with a dome lid. It's totally possible but you just have to be a little bit creative. When you're steaming, you want to make sure the kitchenware you're using is big enough so that there's enough steam to go around inside the pot. And that there's enough space between the boiling water and the cake that's being steamed. You never want your cake touching the water because that'll just be boiling, not steaming. Think of double boiling, in a way. Also make sure there's enough water for the entire duration of the steaming process. If you see that it's running low, simply add more hot water to the pot or wok (never add cold water because that'll make a sudden change of cooking temperature).
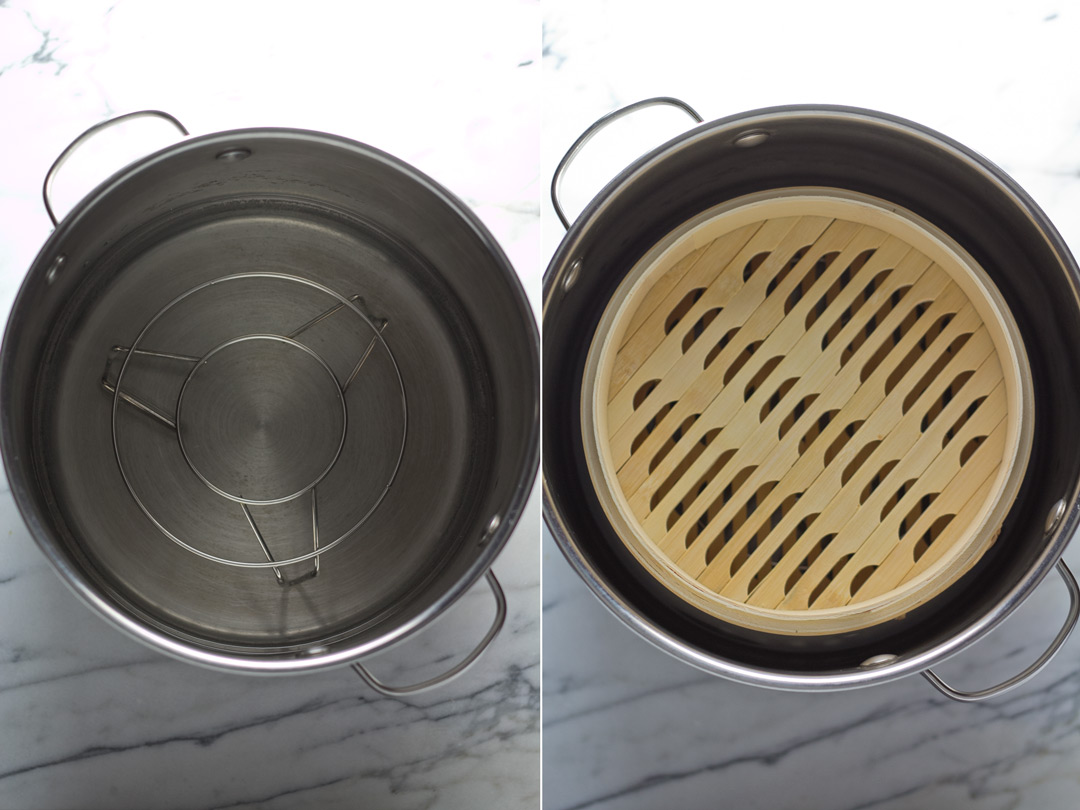
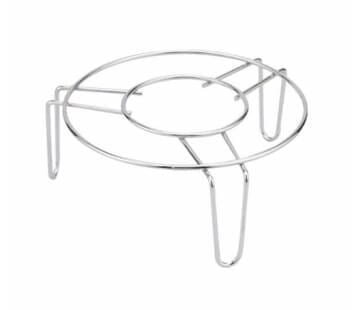
Here's my setup since I do not own a wok (I know, why don't I have a wok? How do I not have one? I'm honest don't even know).
I used a stockpot, a big one. I added a Chinese steaming rack on the very bottom, filled about 2" of water in the pot (fully covering the steaming rack), and set my bamboo steamers on top of that (that's two, 8-inch steamers stacked on top of each other).

Don't have either a steaming rack or bamboo steamers, then you can try using a heat-resistant bowl (place it upside down inside the stockpot) and a standard cake pan. Again, you want to make sure that the cake pan isn't touching the boiling water. Look around your kitchen and see if there's anything else that you think might work and give it a try.
Steaming cake might sound a little weird but it really is unbelievably scrumptious.
Try it!
Malaysian Steamed Cake - Mah Lai Goh (馬拉糕)
Prep time: 10 mins Cook time: 30 mins Total time: 40 mins
Serves: 1, 8-inch cake
You'll need:
- 1 cup all-purpose flour
- 1 tsp baking soda
- 1 tsp baking powder
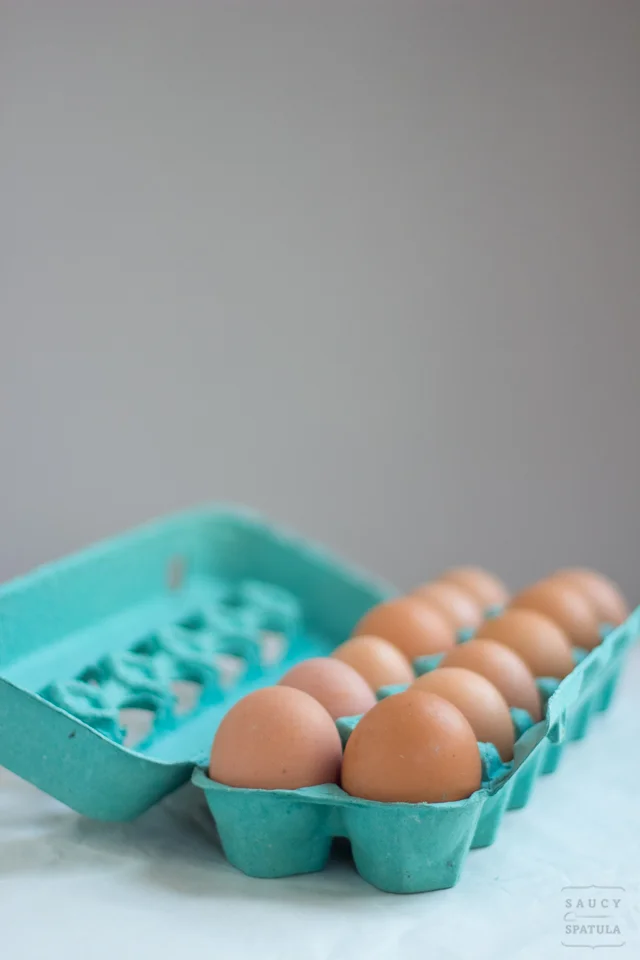
- 3 large eggs
- 3/4 cup brown sugar
- 7 tbsp coconut milk
- 1/4 cup butter, melted
- 1 tsp vanilla extract
Approach:
- Prepare your steamer by setting up the wok/stockpot filled with water, and get it boiling on high heat.
- Mix together flour, baking soda, and baking powder. Set aside.
- Line your bamboo steamer or cake pan with parchment paper.
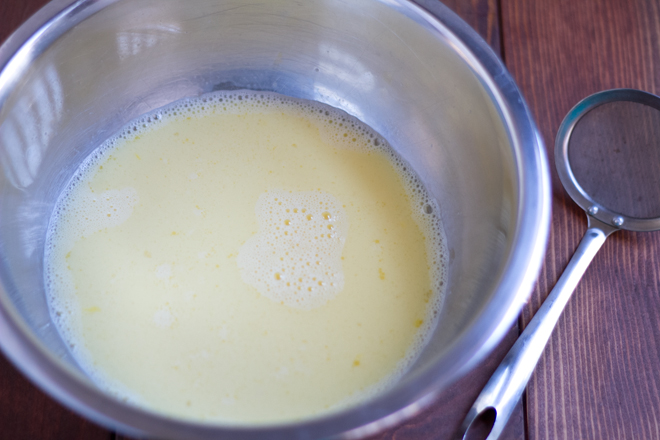
- While the water is still reaching for the boiling point, beat eggs and brown sugar together in a stand mixer on low for 2 minutes (setting 4 on a KitchenAid).
- Add coconut milk, melted butter, and vanilla extract. Mix on low for another 1 minute.
- Add the dry ingredients to the wet, parts at a time. Mix on low until batter is well-combined, about 1-2 minutes.
- Pour the batter into the lined bamboo steamer or cake pan. Then carefully place inside the wok or stockpot. Turn the heat down to medium and steam for 30 minutes.
- Remove bamboo steamer or cake pan, and let it cool for at least 5 minutes before slicing.
- Serve warm.
Notes:
The cake can be refrigerated and re-steamed the next day, and it will stay fresh for up to 4 days.
Recipe adapted from Cake on the Brain.


