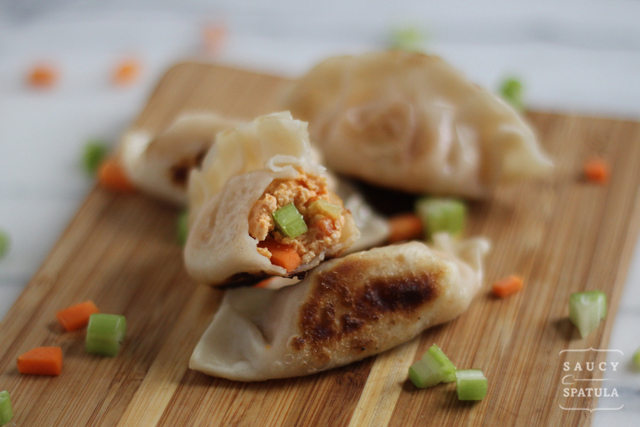
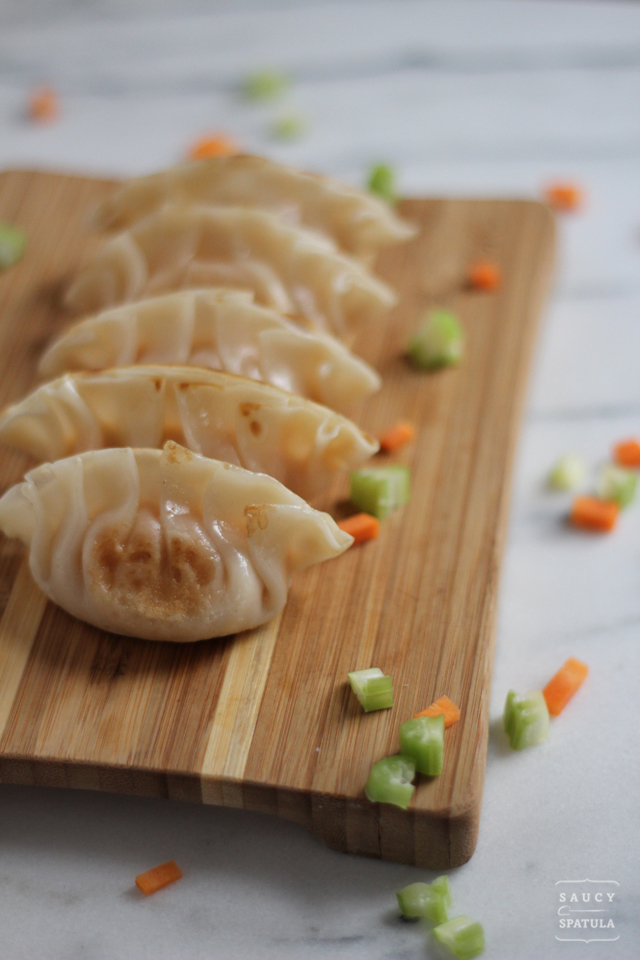
Well, here's something you don't see everyday – Buffalo Chicken Dumplings! Good to snack on, better to share. These dumplings can be cooked in soup or pan-fried. Make a whole bunch, and store some in the freezer using my tip on how to freeze dumplings at the end of the post.
Making dumplings is quite fun, and can be done as a group activity. There're 3 things that are very important here: 1) over-stuffing your dumplings would make it difficult to close and that could get messy; 2) use water to seal the edges; 3) you're not selling dumplings for a living so not every single one needs to be perfectly wrapped. Have fun! If it's your first time making dumplings, watch this how-to video by Julie Deily over at The Little Kitchen.
So in the process of writing this post, I found out that Buffalo Chicken Dumplings aren't as original as I thought (I totally had a "that was MY idea!" moment). I love the fact that dumplings are so easy to make, and you can be as creative as you want with the filling. Every time I make dumplings, I always freeze at least half of what I make, and they freeze very well.
The trick to freezing dumplings is to freeze them right after they are wrapped. Make some room in your freezer, and make sure you can fit a small baking sheet in there (anything flat and non-stick really). You want to line them up, and freeze them in batches as you're wrapping. DO NOT let them touch one another otherwise they'd stick together while freezing. You want a bunch of single dumplings and not a dumpling cluster. 20 minutes or so should be good for the initial freeze, then you can throw them in a big ziplock bag or container. If you do it this way, you won't need to use any flour at all.
Buffalo Chicken Dumplings
Serves: 60
You'll need:
- about 60 dumpling wrappers (white, round ones – Not thin wonton wrappers)
- 1 lb ground chicken
- 8 tbsp hot sauce (I used Frank’s Original)
- 4 tbsp sour cream
- 1/2 tsp salt
- 1/2 tsp white pepper powder
- 1/2 tsp garlic powder
- 1 cup diced celery
- 1 cup diced carrots
Approach:
Mix together ingredients for the filling.
Prepare a small bowl of water for sealing the dumpling edges, and a damped paper towel to cover the wrappers whenever you‘re not using them.
Using a spoon, scoop about 1 tbsp of filling onto the wrapper. Dip your finger in the water, and run it around the wrapper creating a “glue” for the edges. Lift one side of the wrapper and pinch it to the opposite side without closing the dumpling all the way. Then, make 2-3 pleats on each left and right side.
For pan-fried dumplings, heat 2 tbsp of oil in a frying pan on medium heat. Place dumplings on its bottoms and cook for 2-3 minutes until golden brown. Turn dumplings on its “back” sides, add a little more oil and cook for another minute or two until golden brown again. Drop 3 tbsp of water in the pan, cover and let water evaporate. The steam would soften the outside of the dumplings just a bit making it tender but crispy at the same time.
Notes:
If you’re freezing dumplings, make sure your freezer has room for a baking sheet or something that’s flat and non-stick.
Freeze the wrapped dumplings in batches, and leave enough room in between each one so they’re not touching one another for the initial 20 minutes. When you feel like the dumplings are hard enough to the touch, place them all in a big ziplock bag or container.
To get the dumplings back to life, thaw them for about 20-25 minutes before cooking.


